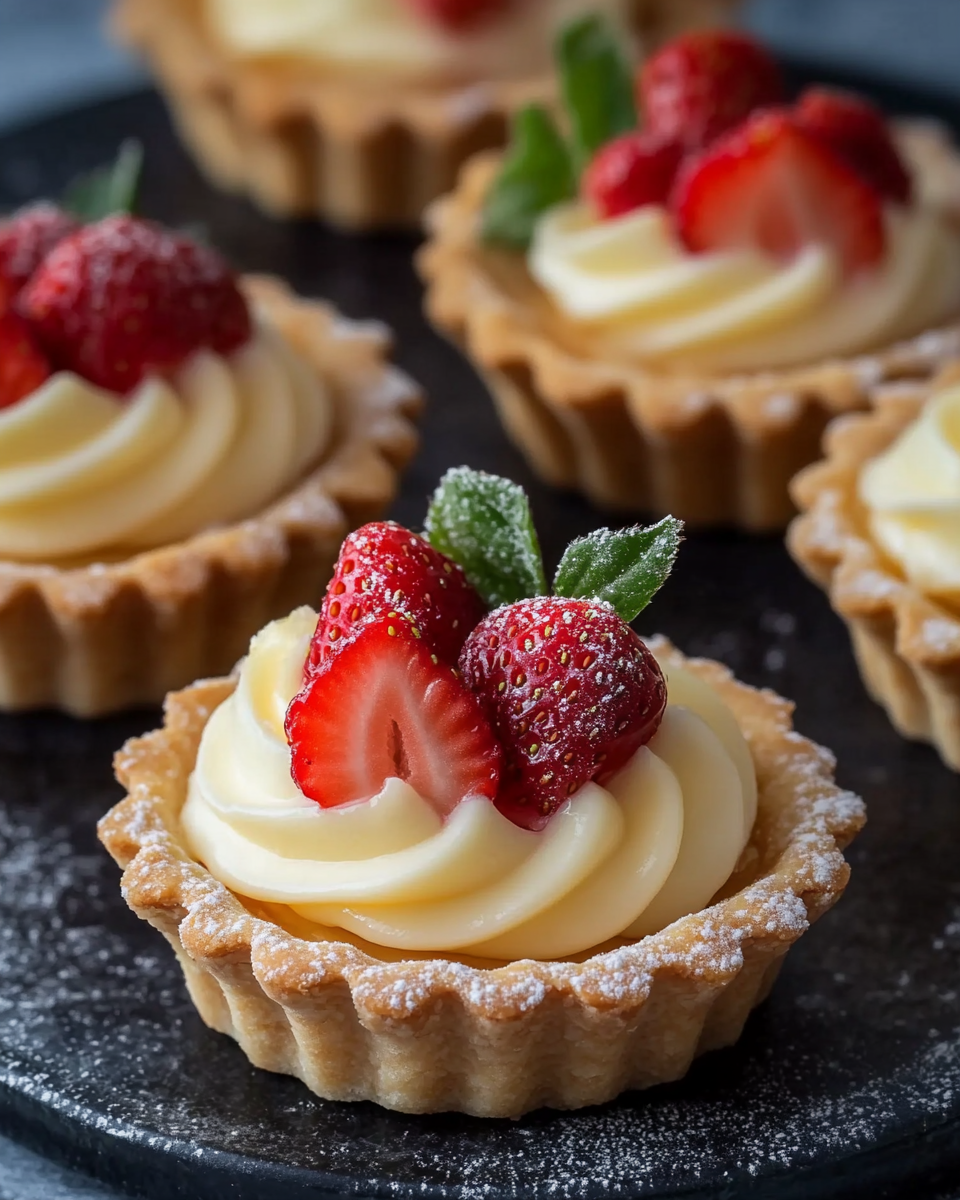
There’s something truly magical about biting into a fresh, perfectly made strawberry tartlet. The delicate, buttery shell that gives way to a smooth, creamy pastry filling and a burst of tangy-sweet strawberry jam creates a symphony of flavors that will delight your taste buds. Whether you’re preparing for a special occasion or simply treating yourself, these strawberry tartlets make for an ideal dessert. They’re simple to make, yet they’ll impress your guests and elevate your baking game. The best part? You can prepare them in your own kitchen without any fuss.
In this article, we’ll walk you through every step of making fresh and delicious strawberry tartlets. From the homemade pâte sucrée dough to the velvety pastry cream and fresh strawberry jam, you’ll have everything you need to create the perfect treat. Let’s dive into why these tartlets are not only visually stunning but also incredibly delicious.
Ingredients for the Strawberry Tartlets
Before you begin, it’s essential to gather all your ingredients. This will ensure a smooth and stress-free baking experience. Below is a detailed list of the ingredients required for each part of the recipe:
| Component | Ingredients |
|---|---|
| Tartlet Shells | 1 Pâte Sucrée dough recipe (sweet shortcrust pastry) |
| Strawberry Jam | 2 cups fresh strawberries, chopped, 1 tbsp granulated sugar |
| Pastry Cream | 1 (14 oz) can sweetened condensed milk, 1 cup whole milk, 1 cup heavy cream, 2 egg yolks, 1/4 cup cornstarch, 1 tsp vanilla extract |
| For Assembly | 6 fresh strawberries, halved |
Once you have these ingredients, you’re ready to start creating your tartlets.
How to Make the Perfect Strawberry Tartlets
Tartlet Shells: The Foundation of Your Tartlets
Creating the perfect tartlet shell can be a little tricky, but once you master the process, you’ll be able to create a flawless base for your tartlets every time. Here’s how to make it:
Step 1: Make the Pâte Sucrée Dough
To begin, you’ll need to make a batch of pâte sucrée (sweet shortcrust pastry). This dough is the key to creating a rich, crisp, and buttery tart shell that complements the creamy filling and fruity jam perfectly. The key to a great pâte sucrée is working quickly and not overworking the dough. Here’s how:
- In a food processor, combine flour, sugar, and a pinch of salt. Add cold butter cut into small cubes.
- Pulse until the mixture resembles coarse breadcrumbs.
- Add an egg yolk and a few tablespoons of cold water to the mixture. Pulse until the dough starts to come together.
- Turn the dough out onto a lightly floured surface and knead just until smooth.
- Wrap the dough in plastic wrap and refrigerate for at least 30 minutes before using.
Step 2: Shape the Tartlet Shells
Once your dough has chilled, cut it into 12 portions and gently press each piece into your tartlet pans using your fingers. Don’t worry if you get cracks in the dough—it’s perfectly normal. Simply patch them up with extra dough and press firmly into the pan to ensure an even thickness.
After all the tartlet pans are lined, place them in the freezer for 15-30 minutes. This will help the dough hold its shape while baking, preventing any shrinkage. Indulge in gourmet dining at home with our https://miarecipes.com/baked-spinach-mushroom-quesadillas-3/
Step 3: Blind Baking the Tartlet Shells
Preheat your oven to 375°F (190°C). Once your tartlet pans are chilled, use a fork to prick the dough all over. This allows steam to escape while baking and prevents any puffing up of the dough.
Place a layer of parchment paper over the dough, and fill each tartlet with pie weights or dried beans. This prevents the dough from rising while baking.
Bake the tartlets for 10-15 minutes, rotating the pans halfway through to ensure even cooking. Once the edges begin to brown, remove the parchment paper and weights and return them to the oven for another 3-5 minutes to brown the center. Allow the shells to cool completely before removing them from the pans.
Strawberry Jam: Sweet and Tangy Layer
While your tartlet shells are cooling, it’s time to prepare the strawberry jam. This step adds an extra layer of flavor and texture to your tartlets, elevating the overall experience.
Step 1: Cook the Jam
In a saucepan, combine the fresh, chopped strawberries and granulated sugar. Cook over medium heat for about 5 minutes, stirring frequently until the sugar dissolves and the strawberries start releasing their natural juices.

Once the fruit has softened and the mixture is simmering, reduce the heat to low. Continue to cook for another 20 minutes, stirring occasionally, until the mixture thickens to a jam-like consistency.
Step 2: Cool the Jam
Once your strawberry jam is thick and glossy, remove it from the heat and allow it to cool completely before using it.
Pastry Cream: The Creamy Perfection
Now comes the most luxurious part: pastry cream. This smooth and silky custard filling will be the base for your tartlets, adding richness and creaminess that balances the sweetness of the jam.
Step 1: Prepare the Cream Base
In a large saucepan, combine sweetened condensed milk, whole milk, and heavy cream. Heat the mixture over medium heat until it begins to simmer, stirring occasionally.
While this is heating, whisk together egg yolks and cornstarch in a small bowl. This will act as a thickening agent for your pastry cream.
Step 2: Temper the Egg Yolks
Once the milk mixture starts simmering, take a small amount of the hot liquid and slowly whisk it into the egg yolk mixture. This is called “tempering” and ensures that the eggs don’t curdle when added to the hot milk.
Gradually add the tempered egg mixture back into the saucepan while continuously stirring. Continue to cook the custard over medium heat, stirring constantly for about 5-8 minutes until it thickens.
Step 3: Chill the Pastry Cream
Once thickened, transfer the pastry cream into a clean bowl and cover with plastic wrap, making sure the wrap is in direct contact with the surface of the cream to prevent a skin from forming. Refrigerate for about 2 hours or until chilled. Once chilled, whisk the pastry cream vigorously to smooth it out before using.
Assembling the Strawberry Tartlets
Now that all your components are ready, it’s time to assemble your fresh and delicious strawberry tartlets.
Step 1: Layer the Strawberry Jam
Start by spreading a generous layer of your cooled strawberry jam into the bottom of each tartlet shell. Make sure the jam is evenly distributed to create a base layer of sweetness that will complement the pastry cream.
Step 2: Pipe the Pastry Cream
Using a piping bag with a large star or flower tip, pipe the chilled pastry cream on top of the strawberry jam. Create beautiful swirls or rosettes to give your tartlets a professional touch.
Step 3: Garnish with Fresh Strawberries
Finally, garnish each tartlet with fresh strawberry halves. This adds a burst of freshness and color that elevates the overall presentation. Serve the tartlets immediately for the best texture and flavor.
Tips for Success: How to Make Perfect Strawberry Tartlets
Making perfect tartlets doesn’t have to be intimidating. Here are some tips to ensure you get it right every time:
- Achieving the Right Texture for Tartlet Shells: Don’t rush the chilling process. Chilled dough prevents the tartlets from shrinking during baking, resulting in a perfectly crisp and stable shell.
- Customizing the Jam: Feel free to experiment with other fruits like raspberries, blueberries, or blackberries for the jam. The same process works with different fruits, so get creative!
- Avoiding Lumpy Pastry Cream: Stir constantly while cooking the cream and be patient when tempering the eggs. This ensures a smooth, velvety texture.
Nutritional Information
| Nutrient | Per Tartlet |
|---|---|
| Calories | ~300 calories |
| Total Fat | 16g |
| Saturated Fat | 9g |
| Carbohydrates | 38g |
| Sugars | 20g |
| Protein | 3g |
| Fiber | 2g |
Frequently Asked Questions (FAQ)
Can I make the tartlet shells in advance?
Yes! You can prepare the tartlet shells up to 2 days ahead of time. Store them in an airtight container at room temperature to keep them crisp.
Can I use frozen strawberries for the jam?
Frozen strawberries work perfectly fine for making jam. Just make sure to thaw them and drain any excess liquid before cooking.

How do I store leftover tartlets?
Store leftover tartlets in the refrigerator for up to 2 days. Although the shells may soften slightly, the flavors will still be delightful.
Can I use a different filling for these tartlets?
Absolutely! You can swap the pastry cream with lemon curd, chocolate ganache, or even whipped cream for a different twist on this classic dessert.
Conclusion
Your fresh and delicious strawberry tartlets are now ready to be enjoyed. Whether you’re hosting a party or simply treating yourself, these tartlets are sure to be a hit. With their buttery tart shells, luscious pastry cream, and vibrant strawberry jam, they’re the perfect combination of flavors and textures. So, gather your ingredients, follow these easy steps, and get ready to savor a dessert that’s both simple and sophisticated.
Let us know how your tartlets turn out! Share your photos and tag us on social media—we’d love to see your creations. Happy baking!
Print
Fresh and Delicious Strawberry Tartlets Recipe
- Total Time: 1H 30 minutes
Description
- Make fresh and delicious strawberry tartlets with buttery shells, creamy pastry cream, and homemade jam. Perfect for any occasion!
Ingredients
- For the tartlet shells:
- 1 Pâte Sucrée dough recipe (sweet shortcrust pastry)
- For the strawberry jam:
- 2 cups fresh strawberries, chopped
- 1 tablespoon granulated sugar
- For the pastry cream:
- 1 (14 oz) can sweetened condensed milk
- 1 cup whole milk
- 1 cup heavy cream
- 2 egg yolks
- 1/4 cup cornstarch
- 1 teaspoon vanilla extract
- 6 fresh strawberries, halved
Instructions
- Prepare the tartlet shells:
- Cut the Pâte Sucrée dough into 12 portions and press each piece into tartlet pans using your fingers. Patch any cracks with extra dough if needed.
- Freeze the shells for 15 to 30 minutes.
- Preheat the oven to 375°F.
- Remove the tartlets from the freezer. Use a fork to prick the dough all over to allow steam to escape.
- Place the tartlets on a baking sheet, line them with parchment paper, and fill with pie weights or dried beans. Bake for 10 to 15 minutes, or until the edges begin to brown, rotating halfway through.
- Remove the parchment paper and weights, then continue baking for a few more minutes until the center is golden. Cool completely before removing from the pans. Set aside.
- Make the strawberry jam:
- In a saucepan, combine chopped strawberries and sugar. Cook over medium heat for about 5 minutes, or until the sugar dissolves and the strawberries release their liquid.
- Uncover, reduce the heat to low, and simmer for about 20 minutes, or until thickened. Allow the jam to cool completely. Set aside.
- Prepare the pastry cream:
- In a large saucepan, combine sweetened condensed milk, whole milk, and heavy cream. Cook over medium heat until it begins to simmer.
- In a small bowl, whisk together egg yolks and cornstarch.
- Once the milk mixture starts to simmer, remove a small amount of liquid and slowly add it to the egg yolks while whisking constantly to temper the eggs.
- Gradually add the tempered yolks back into the saucepan, stirring constantly until the mixture thickens (about 5 to 8 minutes).
- Transfer the cream to a clean bowl and cover with plastic wrap. Refrigerate for about 2 hours until chilled.
- Once chilled, whisk the pastry cream vigorously to smooth it out.
- Assemble the strawberry tartlets:
- Spread a layer of strawberry jam in the bottom of each tartlet shell.
- Pipe the chilled pastry cream over the jam using a piping bag with a large star or flower tip.
- Garnish each tartlet with fresh strawberry halves. Serve immediately.
- Details:
- A perfect dessert for special occasions or just to enjoy a fresh, fruity treat.
- Light, creamy, and sweet with a burst of fresh strawberry flavor.
- Prep Time: 1 hour
- Cook Time: 30 minutes
Nutrition
- Serving Size: 12 servings
- Calories: 320 kcal per serving
Keywords: #StrawberryTartlets #DessertLovers #PastryRecipe #BakingFromScratch #MiniTarts #HomemadeGoodness #SweetTreats #FreshFlavors #BakingInspiration #DessertIdeas